Paver Calculator and Price Estimator
Calculate how many pavers are needed for your patio project by entering your patio dimensions and paver size. Estimate the cost of your project by entering a price per paver below.
Results: Material Needed
| Pavers: | |
| Crushed Stone: | |
| Sand: | |
| Polymeric Sand: | |
| Estimated Material Cost | |
|---|---|
| Pavers: | $ |
| Crushed Stone: | $ |
| Base Sand: | $ |
| Polymeric Sand: | $ |
| Estimated Total: | $ |
Material estimates assume a 4" stone base, 1" sand base, and 50 lb bags of polymeric sand
On this page:

Joe is the creator of Inch Calculator and has over 20 years of experience in engineering and construction. He holds several degrees and certifications.

Sarabeth is an expert in the home and garden industry and was formerly a certified kitchen and bathroom designer. She is a subject matter expert in home improvement and is often quoted in notable publications.
How to Calculate Pavers
This calculator is great for determining the amount of material needed for any paver installation.
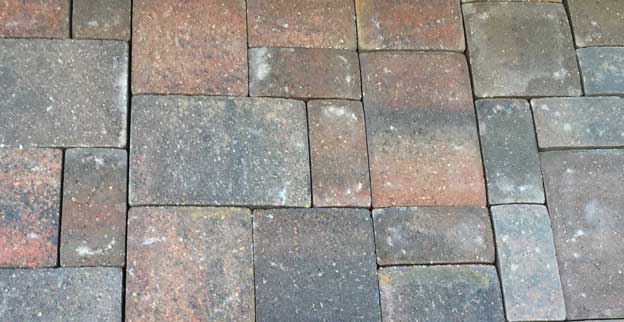
Pavers are blocks made of brick, stone, or concrete that can be installed to create walkways, patios, and driveways, amongst other things.
They come in several sizes and colors, as well as shapes, allowing you to customize your project.
To calculate how many pavers you’ll need, simply enter the patio’s size and the paver’s dimensions, and the calculator will find the number of pavers needed.
Optionally, enter the price per paver to get a material cost estimate. Learn how to perform each of these steps below.

How to Find the Number of Pavers Needed
An important component in planning your project is to determine how many pavers you need. Follow the three simple steps below to easily estimate your materials.
Step One: Calculate Patio Size
The first step to estimate how many pavers you need for any patio, walkway, or driveway installation is to measure the area of the project; you’ll need to measure the length and width of the area in feet.
Calculate the square footage by multiplying the width by the length, or use a square footage calculator to find the square footage of areas that are not rectangular.
Patio Square Footage Formula:
sq ft = length(ft) × width(ft)
Thus, square footage is equal to the length in feet multiplied by the width in feet.
Step Two: Calculate Paver Size
The next step is to find the square footage of the paver you want to use. Measure the dimensions of the paver in inches, then apply a variation of the square footage formula above.
Paver Square Footage Formula:
Since the measurements of the pavers are in inches, you can use the following formula to find their square footage.
paver sq ft = length(in) × width(in) / 144
So, the square footage of the pavers is equal to their length in inches multiplied by their width in inches, divided by 144.
For example, if you are using 4″ x 8″ pavers, multiply these measurements together to get the number of square inches in one paver.
Then, divide this by 144 to get the number of square feet in one paver.
For a paver of this size, it would be equal to 0.23 square feet per paver. There are just over four pavers of this size in one square foot.
paver sq ft = 4″ × 8″ / 144 = 0.23 sq ft
Step Three: Calculate Pavers Needed
After you have found the square footage of both the project and the paver, determining the number of pavers needed is as simple as dividing the patio’s square footage by the paver’s square footage.
Formula to Estimate Pavers:
pavers needed = patio sq ft / paver sq ft
For example, if your installation area is 600 sq ft and you are using a 4″ x 8″ paver, then you would need 2,609 pavers. Recall that a 4″ x 8″ paver is 0.23 sq ft.
pavers needed = 600 sq ft / 0.23 sq ft = 2,609
When the result is not even, always round up to the nearest full paver.
Most experts suggest ordering at least 10% more pavers to account for broken pavers or cuts if you are installing the pavers in a straight pattern. If you install them on a diagonal (e.g. herringbone), then you should order at least 20% more pavers to accommodate the extra cuts required by the pattern.
How to Estimate Pavers When Using a Multi-Piece Pattern
Because patterns can consist of different shaped pavers, using one of these patterns can impact how you calculate the number you’ll need.
When the pattern forms a repeating square or rectangle, you can calculate the square footage of this pattern easily by getting the length and width of the total pattern, then multiplying together, and dividing by 144 to get the total square footage of the full pattern.
In some cases, the pattern will not make a square or rectangle, such as a 3-piece pattern using two 4″ x 8″ pavers and one 8″ x 8″ paver, then calculate the square footage of each one individually, and add them together – in this case, 0.89 sq ft per pattern repeat.
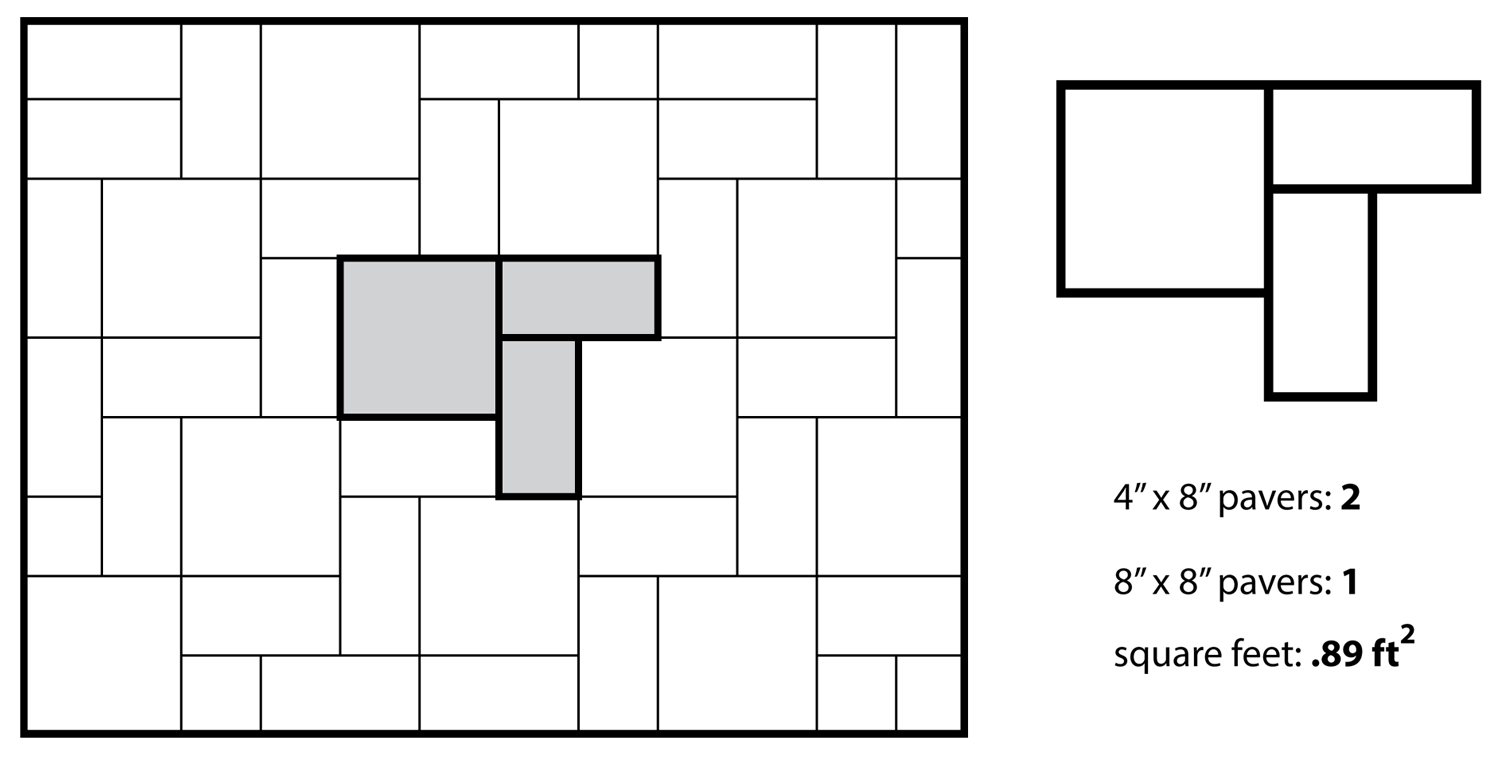
Then, divide the total area in square feet by the size of the pattern to find the total number of pattern repeats you’ll need. Then you can multiply that by the number of pavers in the pattern to find the total of each size needed.
As with patterns made of a single size, always order at least 20% more material to account for waste. Keep in mind that patterns sold in multiple pieces like this may require you to order minimums, in which case, it’s often enough to round up to the nearest full pattern required.
You can learn more about the various patterns available in our list of paver layout patterns.
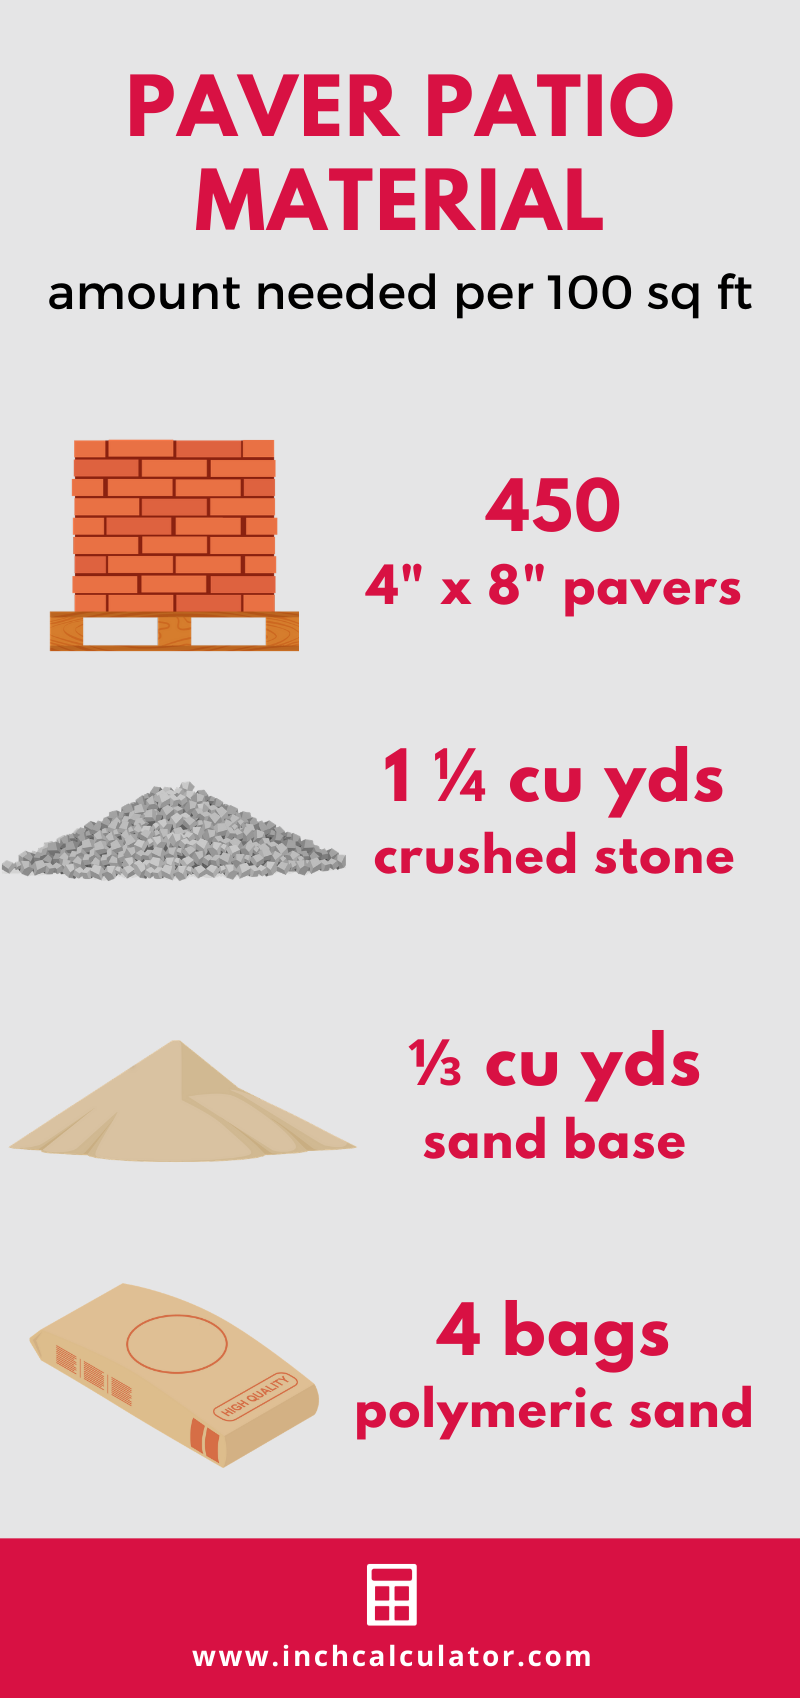
How to Estimate the Base for a Paver Installation
When installing pavers, you must have a solid base to support the patio and prevent settling over time. We recommend starting with a base of 4″ to 6″ of compacted gravel topped with 1″ of sand, which is an industry-standard for most patio installations.
To estimate the amount of gravel and sand required, you must find the sq ft of your patio and then find the volume necessary for a 4″ to 6″ layer of compacted gravel and a 1″ layer of sand. Use our paver base calculator to estimate the amount of gravel and sand you need for the base of your paver project.
Polymeric Sand
In most paver installations, you’ll need to add polymeric sand to fill in the joints between the pavers. Adding polymeric sand locks them together so they don’t move, and also prevents weeds and plants from growing in the joints.
A 50lb bag of polymeric sand typically covers 25-50 square feet. Use our polymeric sand calculator to estimate how much you need for your installation.
Common Paver Sizes
| Paver Size in Inches | Paver Size in Centimeters | Pavers per 100 sq ft |
|---|---|---|
| 4″ x 8″ | 10cm x 20cm | 450 |
| 6″ x 6″ | 15cm x 15cm | 400 |
| 6″ x 9″ | 15cm x 23cm | 267 |
| 8″ x 8″ | 20cm x 20cm | 225 |
| 12″ x 12″ | 30cm x 30cm | 100 |
| 14″ x 14″ | 36cm x 36cm | 74 |
| 12″ x 18″ | 30cm x 46cm | 67 |
How to Estimate the Cost of a Paver Patio
The average cost to have a professional install a paver patio is $8 – $20 per square foot. If you have the tools necessary, it is possible to install them yourself. Keep in mind that if you do not already own the tools, you will need to take the cost of their rental or purchase into account for the full installation cost.
To estimate how much your pavers will cost, multiply each paver’s cost by the number required for your patio. You can do this for your base materials and sand once you have those measurements as well.
Keep in mind that sometimes it can be less expensive to have one company purchase materials and install them for you, than it is to do it yourself if you do not already own the necessary equipment.
Frequently Asked Questions
How many pavers are on a pallet?
The number of individual pavers on a pallet will vary by size. Generally, a pallet will hold between 78 and 160 sq ft of pavers, depending on size and shape.
Are pavers cheaper than concrete?
Concrete pavers are the least expensive type of paver, while stone and brick cost more. Poured concrete is generally the least expensive material, though, while stamped concrete can be amongst the most expensive, often costing more than brick or stone pavers.
What are the disadvantages of pavers?
This can vary depending on the type of paver and your climate. Porous stone and concrete pavers don’t do well in freeze/thaw climates and may crack, while concrete pavers may be easily stained.
Are pavers the same as bricks?
Bricks are one type of paver, but not all pavers are bricks. A paver is an individual construction unit, and may be made of clay brick, concrete, or natural stone.
Do pavers increase home value?
In general, the answer is yes, but this will vary depending on the type of paver, how it’s laid out and installed, and what area you are installing them on. Patios tend to get the most value, while in the south, a paver driveway can add more value than poured concrete.