How to Install a Wood Privacy Fence

Joe is the creator of Inch Calculator and has over 20 years of experience in engineering and construction. He holds several degrees and certifications.

Sarabeth is an expert in the home and garden industry and was formerly a certified kitchen and bathroom designer. She is a subject matter expert in home improvement and is often quoted in notable publications.
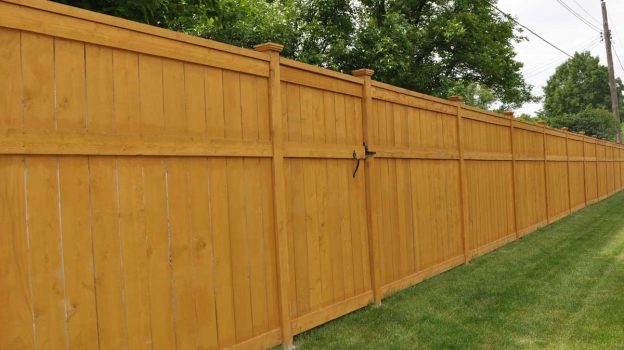
Adding a new fence can offer privacy and security and can also increase your home’s value. Installing a fence is a fairly simple process and usually consists of installing posts, rails, and pickets or boards.
Fences come in many materials, including vinyl, wood, and steel, but wood is one of the most economical options and looks fantastic. There are many styles to choose from, with the basic installation of the fence remaining the same between them.
Materials Needed to Install a Fence
You’ll need the following materials for your fence installation project:
- 4×4 Posts
- 2×4 Rails
- Pickets or Boards
- Gravel
- Marking Paint
- Post-Setting Concrete
- Nails and Screws
- Gate Hardware
Tools Needed For a Fence Installation Project
Installing a fence requires the following tools:
As an Amazon Associate, we may earn commissions from qualifying purchases from Amazon. Learn more
Step One: Plan the Fence Installation
When planning a fence, the first order of business is to define where the fence will go and identify how many linear feet of fence you plan to install.
Measure the area where you intend to install the fence. Mark this area or make a sketch to scale and mark the location of where the gate or entrance will be if using one, as well as the location of the endpoints of the fence.
The next step is to choose a style, which will determine what type of rails and pickets or boards you purchase. For example, there are solid board, shadowbox, stockade, picket, slip-board, and many more styles to choose from.
Keep in mind that most wooden fences come in 8-foot panel lengths, and heights between 4 and 6 feet, but they can be higher.
Estimate Materials
Once you have a style in mind, begin estimating materials. Nearly all wooden fences require posts 8 feet apart. Divide your total linear footage by 8 and add one to get the number of posts.
Keep in mind that corners and gates may require different posts. If you are using a fence system, make sure you choose posts and rails or panels that are designed to connect for the best installation.
Once you have your posts and the installation size, use our fence calculator to calculate the post spacing and the rest of the materials you’ll need
Estimating Labor Costs
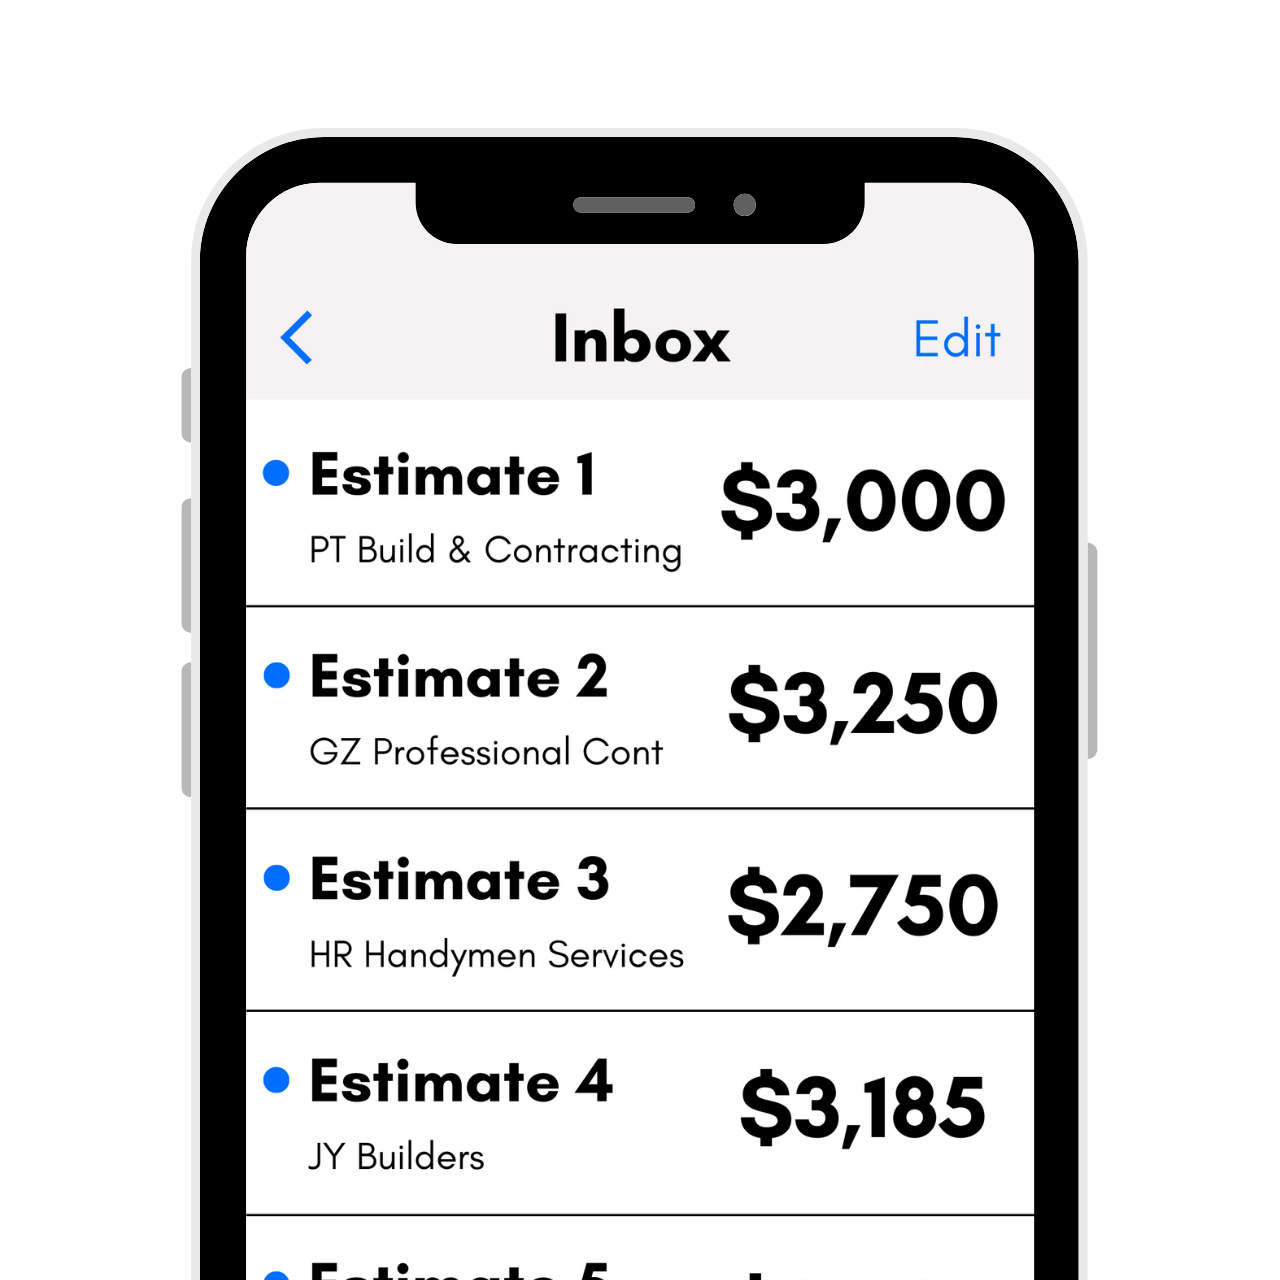
Installing a fence yourself can save significant labor costs; see how much having a professional install your fence will cost. However, keep in mind that if you do not own the tools necessary to install the fence, you will need to add those costs to your budget.
Likewise, consider the time it will take you to install the fence compared with the cost and time of a professional installation. Getting installation estimates can confirm how much you will save by tackling the project yourself or give you the option to hire someone to complete the work.
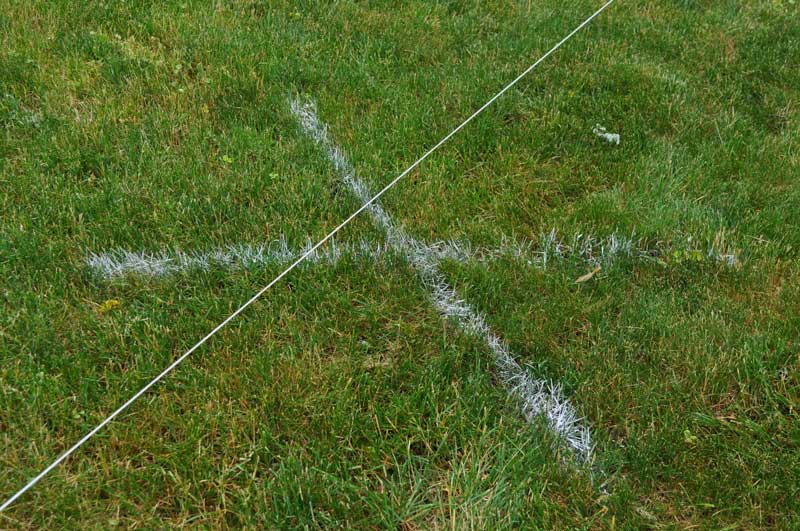
Step Two: Lay Out the Posts
Before you can install the fence, make sure you know exactly where each post will be installed, where your gate and corner posts will be, and that you know where your utilities are located.
See our in-depth guide to laying out a fence for detailed information on laying out the posts, finding utilities, and getting straight lines and perfectly square corners.
Step Three: Install the Fence Posts
The next step is to install all of the fence posts that the rails and pickets will eventually attach to complete the fence. The most common type of post is a 4×4 pressure-treated post or a 4×4 cedar post.
However, posts of different sizes, styles, or shapes may be recommended depending on the type of fence you are installing. Some posts are notched to receive a panel or rail, while others may have a specific shape or style that will complement the rest of the fence.
Keep in mind that your post holes will correspond to both the height and width or diameter of the post.
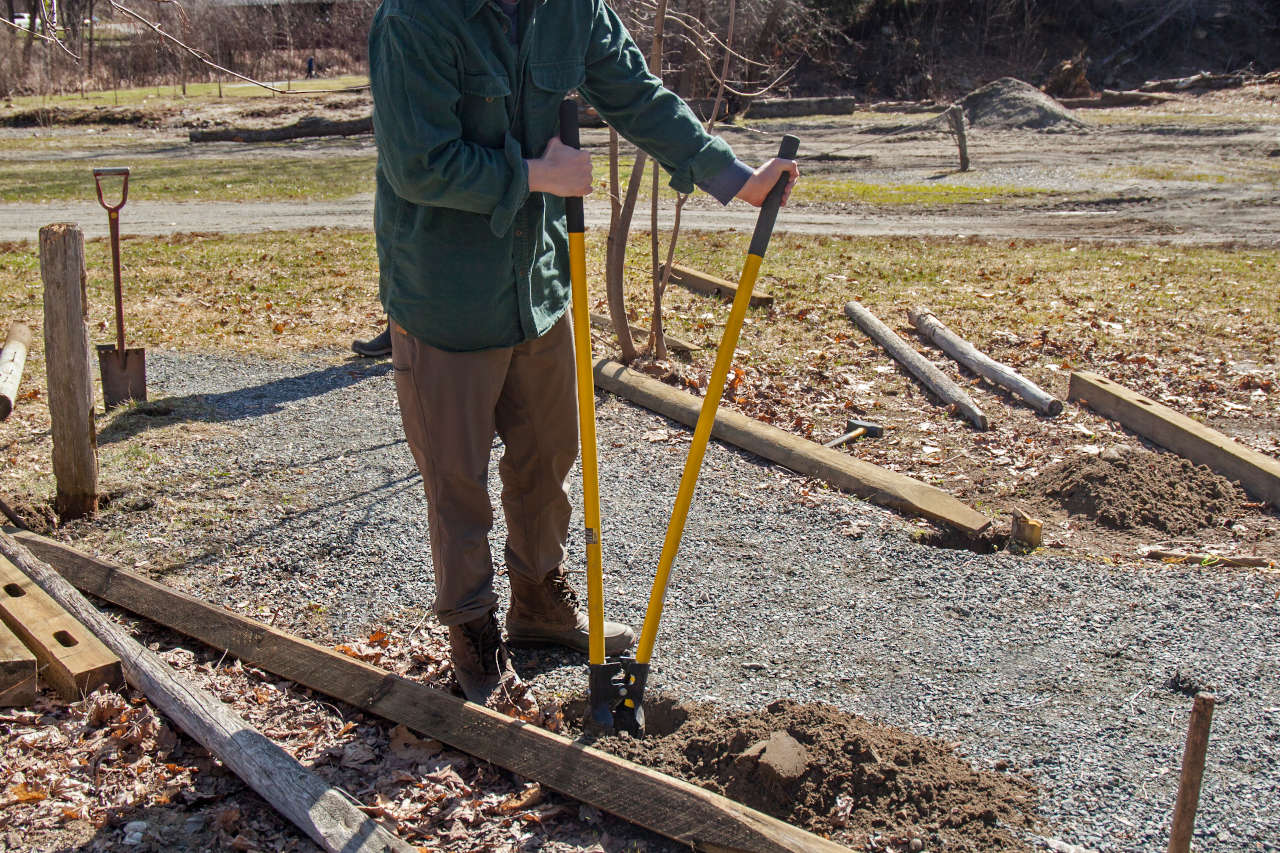
Digging the Post Holes
Use a post-hole digger to dig down about 2-3 feet per post. The size of your post hole will be dictated by the size of the post. The depth should be roughly ⅓ the height of the post, so a 6-foot tall post needs a hole that is 2 feet deep.
Width is roughly 3 times the width or diameter of the post, so a 4″ square post will have an exact width of 3.5″, making the hole 10.5″ wide. Consider renting a post-hole auger if you have many posts to dig. Remove excess dirt so it is not in your way for the rest of the project.
Setting the Posts
Once you’ve completed digging the holes, it’s time to begin setting the posts. Start by adding 6″ of gravel to the hole to allow for drainage and to avoid rotting out the bottom of the posts.
Next, place the post in the hole and center it. Use a post level and 4′ level to ensure that the post is plumb in all directions.
Add post-setting concrete to the hole and add water, per the manufacturer’s instructions. At this point, the posts will need to set for a period of time while the concrete cures.
This varies based on the type of concrete purchased. Use our post-hole concrete calculator to estimate the amount of concrete needed to set your posts.
Keep in mind that the height of your fence will vary as your landscaping changes. Small variations can be evened out as you install the boards, but big changes in elevation will mean your fence will follow the slope of your yard.
Step Four: Install Fence Rails and Pickets
After you’ve set the posts, it is time to install the rails between each post, or the panels, if not using loose lumber, then the pickets or boards.
Adding the Rails
Depending on your style, rails may either be designed to slot into the posts, or to overlay the backs of the posts, with two rails meeting in the center of the post.
We recommend cutting each rail to length by measuring each space individually, do not attempt to cut all rails at once, as the spacing will vary slightly.
Use a drill to screw the rails into the posts if they run along the back. If the rails are inserted into the posts, you will need to insert one end first, and lift the other end up at an angle. Slide it down the post, exerting pressure until it enters the slot on the post.
If you are fully assembled panels, rather than rails and pickets or boards, install these in the same manner you would install the rails. Because the pickets or boards are attached, skip the next step.
Installing the Pickets
After the rails are all installed, attach the pickets or boards to achieve the design you planned out. For a solid board fence, attach each board tight to the previous one on the outside of the fence.
For an open picket fence, determine the distance between the pickets, and mark the rails using chalk at the intervals required. Line up each picket so that the center of the picket is directly on the chalk mark. Use a drill to screw each picket or board to the rails.
Large pickets may require 2-3 screws per rail, while a small picket may require only one screw per rail.
Step Five: Install the Gate(s)
The next step in the fence installation process is to add gates. Start by building your gates, make them about 1/2″ to 1″ smaller than the openings to allow them to swing easily. Construct the frame first, and add a Z brace to prevent the gate from sagging later. Add pickets or boards to match the rest of the fence.
Determine the height of each of the hinges for the gate. As a general rule of thumb, hinges are installed at the top and bottom of the gate, but if the gate is heavy, it requires a third hinge between the two.
Determine the direction you want the gate to open, and mark the position of the hinges on both the posts and the gate. Attach the hinges to the gate first, then to the post.
For locking hardware, repeat the process; determine the location and which side you want the gate to lock from. Mark the location of each component on the gate and the post, and install these components separately, making sure they line up before final installation.
Step Six: Finish the Fence
The final step to the fence installation is to stain or paint the fence if it did not arrive pre-finished. You may need to wait 30 days for the lumber to dry out for a better finish. Add stain or paint to the desired color.
Many people choose cedar fences and leave them their natural finish as cedar is rot and insect resistant. However, if you are using pressure-treated wood, you will need to paint or stain the wood to help protect it.
If you choose to paint your cedar or redwood fence, keep in mind that you must prime it first. Otherwise, the sap from the interior of the wood will stain the finished paint job. This is known as cedar bleed, and it can be prevented by applying a good-quality primer to the wood before painting.
Small fences may be brushed and rolled, but consider renting a paint sprayer for larger projects. Be sure to tape off any hardware prior to painting or spraying to avoid unnecessary clean-up later. Learn more about how much it costs to paint or stain your fence.